23 How I kept losing my wet edge, Missus
As today progressed the temperature went slowly up, the wind dropped and the sun came out. As this was the appointed day for applying the first coat of waterproof primer on the stripped and repaired hull it was interesting, to say the least. Keeping a wet edge on the paint was all but impossible, and it was touch dry in about 25 minutes instead of the three hours it said on the tin. And this is what it now looks like.

Two days ago I tack-ragged the hull to get any dust off and then primed all the rough patches with pink primer. Then today I sanded all those patches with a detail sander (triangular head) until I'd levelled all the imperfections (well, nearly all - I kept on finding fresh ones). When you start to sand the pink primer off paint is left in all the depressions, so you have a very good idea of the size and shape of the mini-dings you need to get rid of with the detail sander. Once this was done and the hull was pretty smooth, I applied the Grey Metallic Waterproof Primer (Blake's Marine Paints). There'll have to be a bit more sanding tomorrow to get rid of the remaining imperfections that this coat has revealed (and a couple of runs) and then two more coats of primer before we proceed.
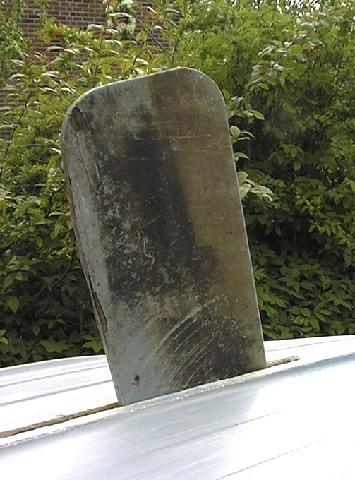
While I was watching the paint dry (who said my life isn't full of excitement?) I pulled the centreplate up (down really, but the boat's the wrong way up remember) to have a look at it. It'll have to be replaced as it's made of ply which is starting to delaminate. Another job, but at least I've got the ply sitting in the garage.
Launch date in four weeks time?
|
Return to Main Page
Comments
| 
